

OMF Faceting by Sumner Olsen
I think a good point to start is that according to the dictionary there is no such thing as a curved facet since
these references define a facet as a flat surface. Be that as it may, many of us continue to refer to a facet as
curved even though it may be flat in only one direction when compared to a totally flat surface. There is a
long history of attempts to improve the appearance of gem stones by the addition of curves on various
surfaces. In fact I have traced such attempts back close to 100 years. Some of the more recent
developments in this area were by gem cutters in Idar Oberstien who by using primarily carving techniques
enhanced significantly the appearance of gem stones, and I might add increased the market value of such
stones significantly. Recent developments in this area include the development and patenting of the
Optically Magnified Faceting machine by Doug Hoffman (deceased) of Polymetric Instruments. With the
OMF machine it is possible to place and duplicate precision curves on flat surfaces in a very precise
manner. In fact with a micrometer accessory, which is available, it is possible to place facets as much as one
thousandth of an inch apart. While I personally think the machine is a little pricey, I also believe you get what
you pay for --- if you want accuracy and precision it usually doesn't come cheap. A question has been raised
as to why people cutting concave facets seem reluctant to share their information and ideas about the
process. Is it possible that the commercial aspect of this type of cutting is what is being protected. I have
seen stones with curved facets selling for up to ten times the price of a comparable stone with only flat
facets. Since I do no commercial cutting I am free to tell any and all about the techniques and methods I
know for cutting and polishing these facets. I don't want to wear out my invitation to write about curved
faceting on my first submission so I will save details about how to cut and polish curves using the OMF for
future submissions, frequency to be determined by my attitude at the time.
Have a good day.
Part 2: OMF Curve Cutting
Here comes the second article on the use of the OMF curve cutting machine.. It's a proven fact that the
addition of curved surfaces which then function as lenses, increase the light return through the crown of a
stone. This information was developed during the prototype testing of the O.M.F. machine by the author.
This information should be of some assistance in understanding curve cutting and some capabilities of the
O.M.F. unit. The machine as such, is a precision cutting device capable of placing curved facets on a stone
in very precise and repeatable manner. There is no comparison between it and other methods used for
cutting and placing curves in the past. That is why the device was awarded a U.S.Patent. First you facet
your stone to any pattern you may desire. A good starter is a standard round brilliant. Carry through all the
usual steps to and including prepolish on your conventional flat laps. You then identify the facets you intend
to curve. This may be anything from a single facet to all the facets on the stone. Try doing only the mains for
a starter. After you have proceeded through the prepolish stage you must be careful not to change any
cheater settings as these same settings will be needed again when you are ready to return your stone to
your flat lap for any final touchup of meets and final polishing of the remaining flat facets. Any cheater
adjustments you may need while applying your curved facets will be made by use of the vernier on the
O.M.F. stabilizer. You move your mast from your machine (the unit can be adapted to most mast type
machines) to the O.M.F. Select an appropriate mandrel based on the size of facet you intend to apply a
curve to. I have placed curves on stones as small as 4mm with a 1/2 inch mandrel. After selecting your
mandrel you must line the stone up for cutting the curved facets, this will usually be done on a copper
mandrel charged with 1200 diamond until something better comes along. To line up your stone and maintain
it's position the vernier stabilizer is positioned against the shaft of the dop to hold it and allow for fine tuning
the position of the stone in relation to the mandrel as cutting proceeds. Polishing is done using the same
techniques you used to cut the stone, only substituting a polishing mandrel for the cutting mandrel.
Depending on the material being polished you can use a conventional slurry of Cerium, Linde A, 50000
Diamond or whatever else your experience has shown will polish the material at hand. The mandrel must be
kept moist but not wet at all times during the polishing operation. After cutting and polishing your curved
facets on the O.M.F. machine it is time to return your mast to your conventional machine to true up any
meets you may have broken as well as polishing the remaining flat facets. The foregoing are the steps
needed to apply curves to a simple cut, as you develop expertise you can develop your own patterns and go
into the exotic world of free forms. In my next article I will discuss some special techniques that can be
applied as well as a brief look at some of the things coming down the road.
Sumner
Part 3: The Future
So far I have covered some of the past history of curve cutting as well as use of the OMF in the present,
now for a little look to the future. Two new items have just come available that should be of interest. The first
is the ball mandrel that can be used for placing dimples on flat facets creating an interesting affect. The
other item is the serrated mandrel that consists of a pattern of lands and grooves. Both of these mandrels
are for use while the reciprocating feature of the OMF is disabled, in other words the gears are shifted to
neutral. With the serrated mandrel you can apply curves that run perpendicular to the original curve and as
such create an amazing optical effect. These mandrels are usually charge with 50,000 diamond when in use
so the cutting and polish is all done at the same time.
One additional item available makes it possible to cut convex curves as well. This item is called a steady
rest and while designed primarily for use with Polymetric Machines can be adapted to some other mast type
machines. Using this accessory it is possible to cut and polish a perfect cone with little difficulty.
There are several other developments that are in various stages of development and testing that I am not at
liberty to reveal at this time. I can assure you though if you now own or were to buy and OMF it will not be
made obsolete by these developments.
Sumner
***************************************************************************************************************************
Standard Round Brilliant (SRB) by Sumner Olsen
Have you ever wondered why we cut stones in a form known as a Standard Round Brilliant?
This pattern was developed based on the crystal formation of a diamond. Diamonds are formed in an
Octahedral configuration, in other words simply stated in the form of a double pyramid. The first diamonds
cut as gemstones probably were created by simply cutting off part of one end of one of the pyramids thereby
creating a stone that was pleasing to the eye as well as wearable in the form of jewelry. Later on, some
enterprising cutter figured he could do better by cutting off the four remaining corners and thereby increasing
the brilliance of the stone. Ever since that time we have been bound by
tradition and have cut both diamonds and colored stones to a pattern know as the SRB. Diamond cutters to
this day still adhere to the old patterns and it makes sense, since cutting a round with more sides would
result in the waste of valuable material. Fortunately, though we seem to be hide bound by tradition, such
does not have to be the case when we cut colored stones. The material is much more affordable. I have cut
stones with seven, nine and eleven mains and found them to be very pleasing to the eye. To me they seem
to have much more reflectivity, since the pavilion facets are not in a position to reflect primarily from the
opposing facet, but are dispersed and reflect from many facets. Polymetric Instruments manufactures an 84,
an 88, and a 108 tooth gear for this purpose. I assume some other manufactures also provide gear capable
of providing these multiples so 7, 9 and 11 main stones can be cut. It's fun to explore and to innovate, get a
little off the beaten path and have some fun in your cutting.
Sumner
(this was written by Sumner in 1993)
***************************************************************************************************************************
I NEVER READ THE BOOK
By Sumner Olsen
To my surprise, I found that although I have been cutting stones for over thirty years, I obviously had not
read the book when it came to cutting the Emerald cut.
One thing I noted was that most writers emphasized the need for using the cheater. Few agreed on where
to start your cut. I found that none of them pointed out how important it is to develop an accurate culet line
or even a four sided stone before proceeding with your cut.
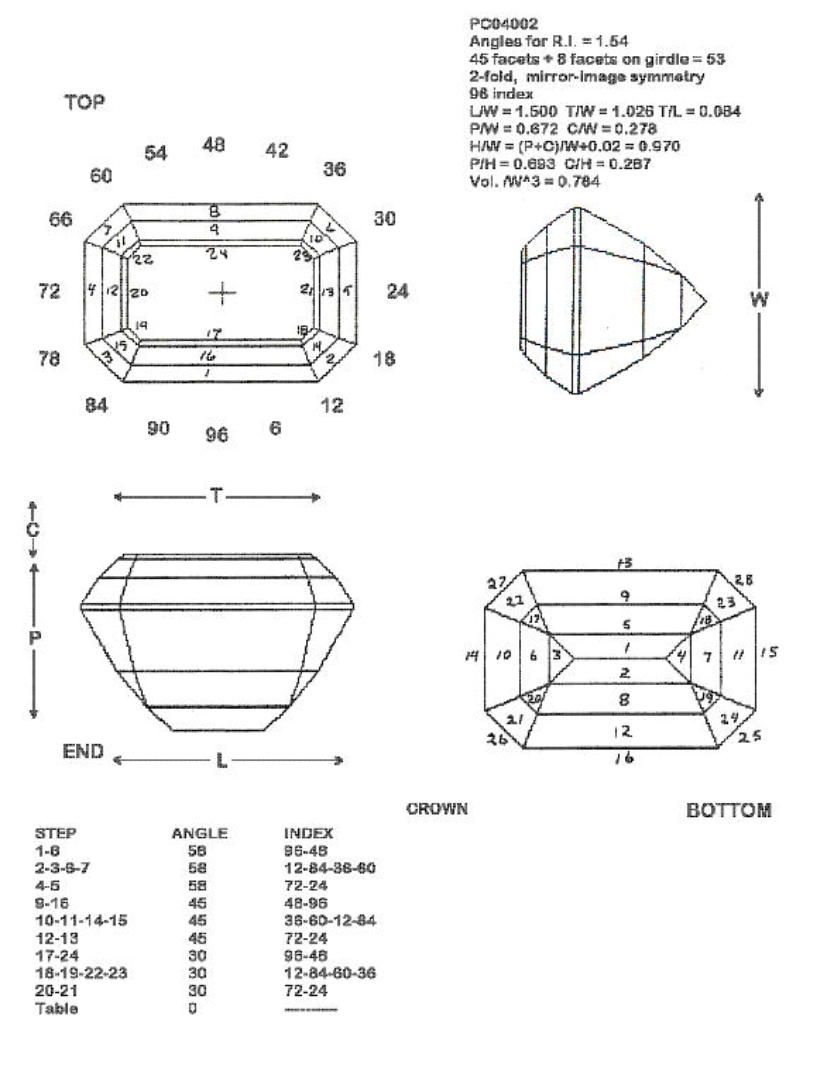
I found that if I developed an accurate culet line I was able to cut an Emerald cut without use of a cheater or
at worst a minimum use of this crutch. By following the cutting sequence I have outlined in the diagram on
the next page, you can cut an Emerald cut more accurately without cheating. The big IF here is that I am
assuming that you have a machine capable of making an accurate and repeatable cut. It is also important
to have a means for measuring the depth of the cut.
Cutting and lining up an Emerald cut is no different than lining up a standard brilliant. When you cut a
standard brilliant the first thing you do is establish an accurate culet point – one where each facet meets
accurately at a single point.
Cutting an Emerald cut is the same, except in one respect. Instead of having to bring eight facets to a
single point, you only have to bring two facets accurately to this position. That’s where the problem starts
because you probably have failed to bring these two facets to a point that is equal distance to the center
line. If the culet line is accurately established, you should have no need for a cheater to finish your cut. On
the other hand, if your culet facet is not accurately placed you will probably have to cheat at each
subsequent meet.
TRY IT! YOU CAN DO IT WITHOUT CHEATING.
This page is for Articles of Interest
If you have written an article related to faceting or gemstones
and would like to have it posted here, please send it to me by e-mail
with permission to reprint. Thank-you.


Send mail to webmaster with questions or comments about this web site. Copyright © 2006-2026 Poly-Metric Instruments, Inc. All Prices Subject To Change Without Notice.